
Paint worksheet
Originally Posted in 2014
Finally managed to finish my plans for the “paint around the room” game and implement it in the classroom. The drawing and collage activities, I have done several times, but this is the first time trying the paint one.
For this one, I realized that vocab cards were not going to work. Their papers would be wet, so writing on both sides wasn’t realistic. The kids were very happy to not be bothered with that part of the activity. Obviously, there is plenty of vocab that would match this unit and I will still find ways to weave it in, in future activities. Opaque, transparent, primary, secondary, consistency, color wheel, complementary colors and contrast come to mind.
Watercolor Pencils
Materials:
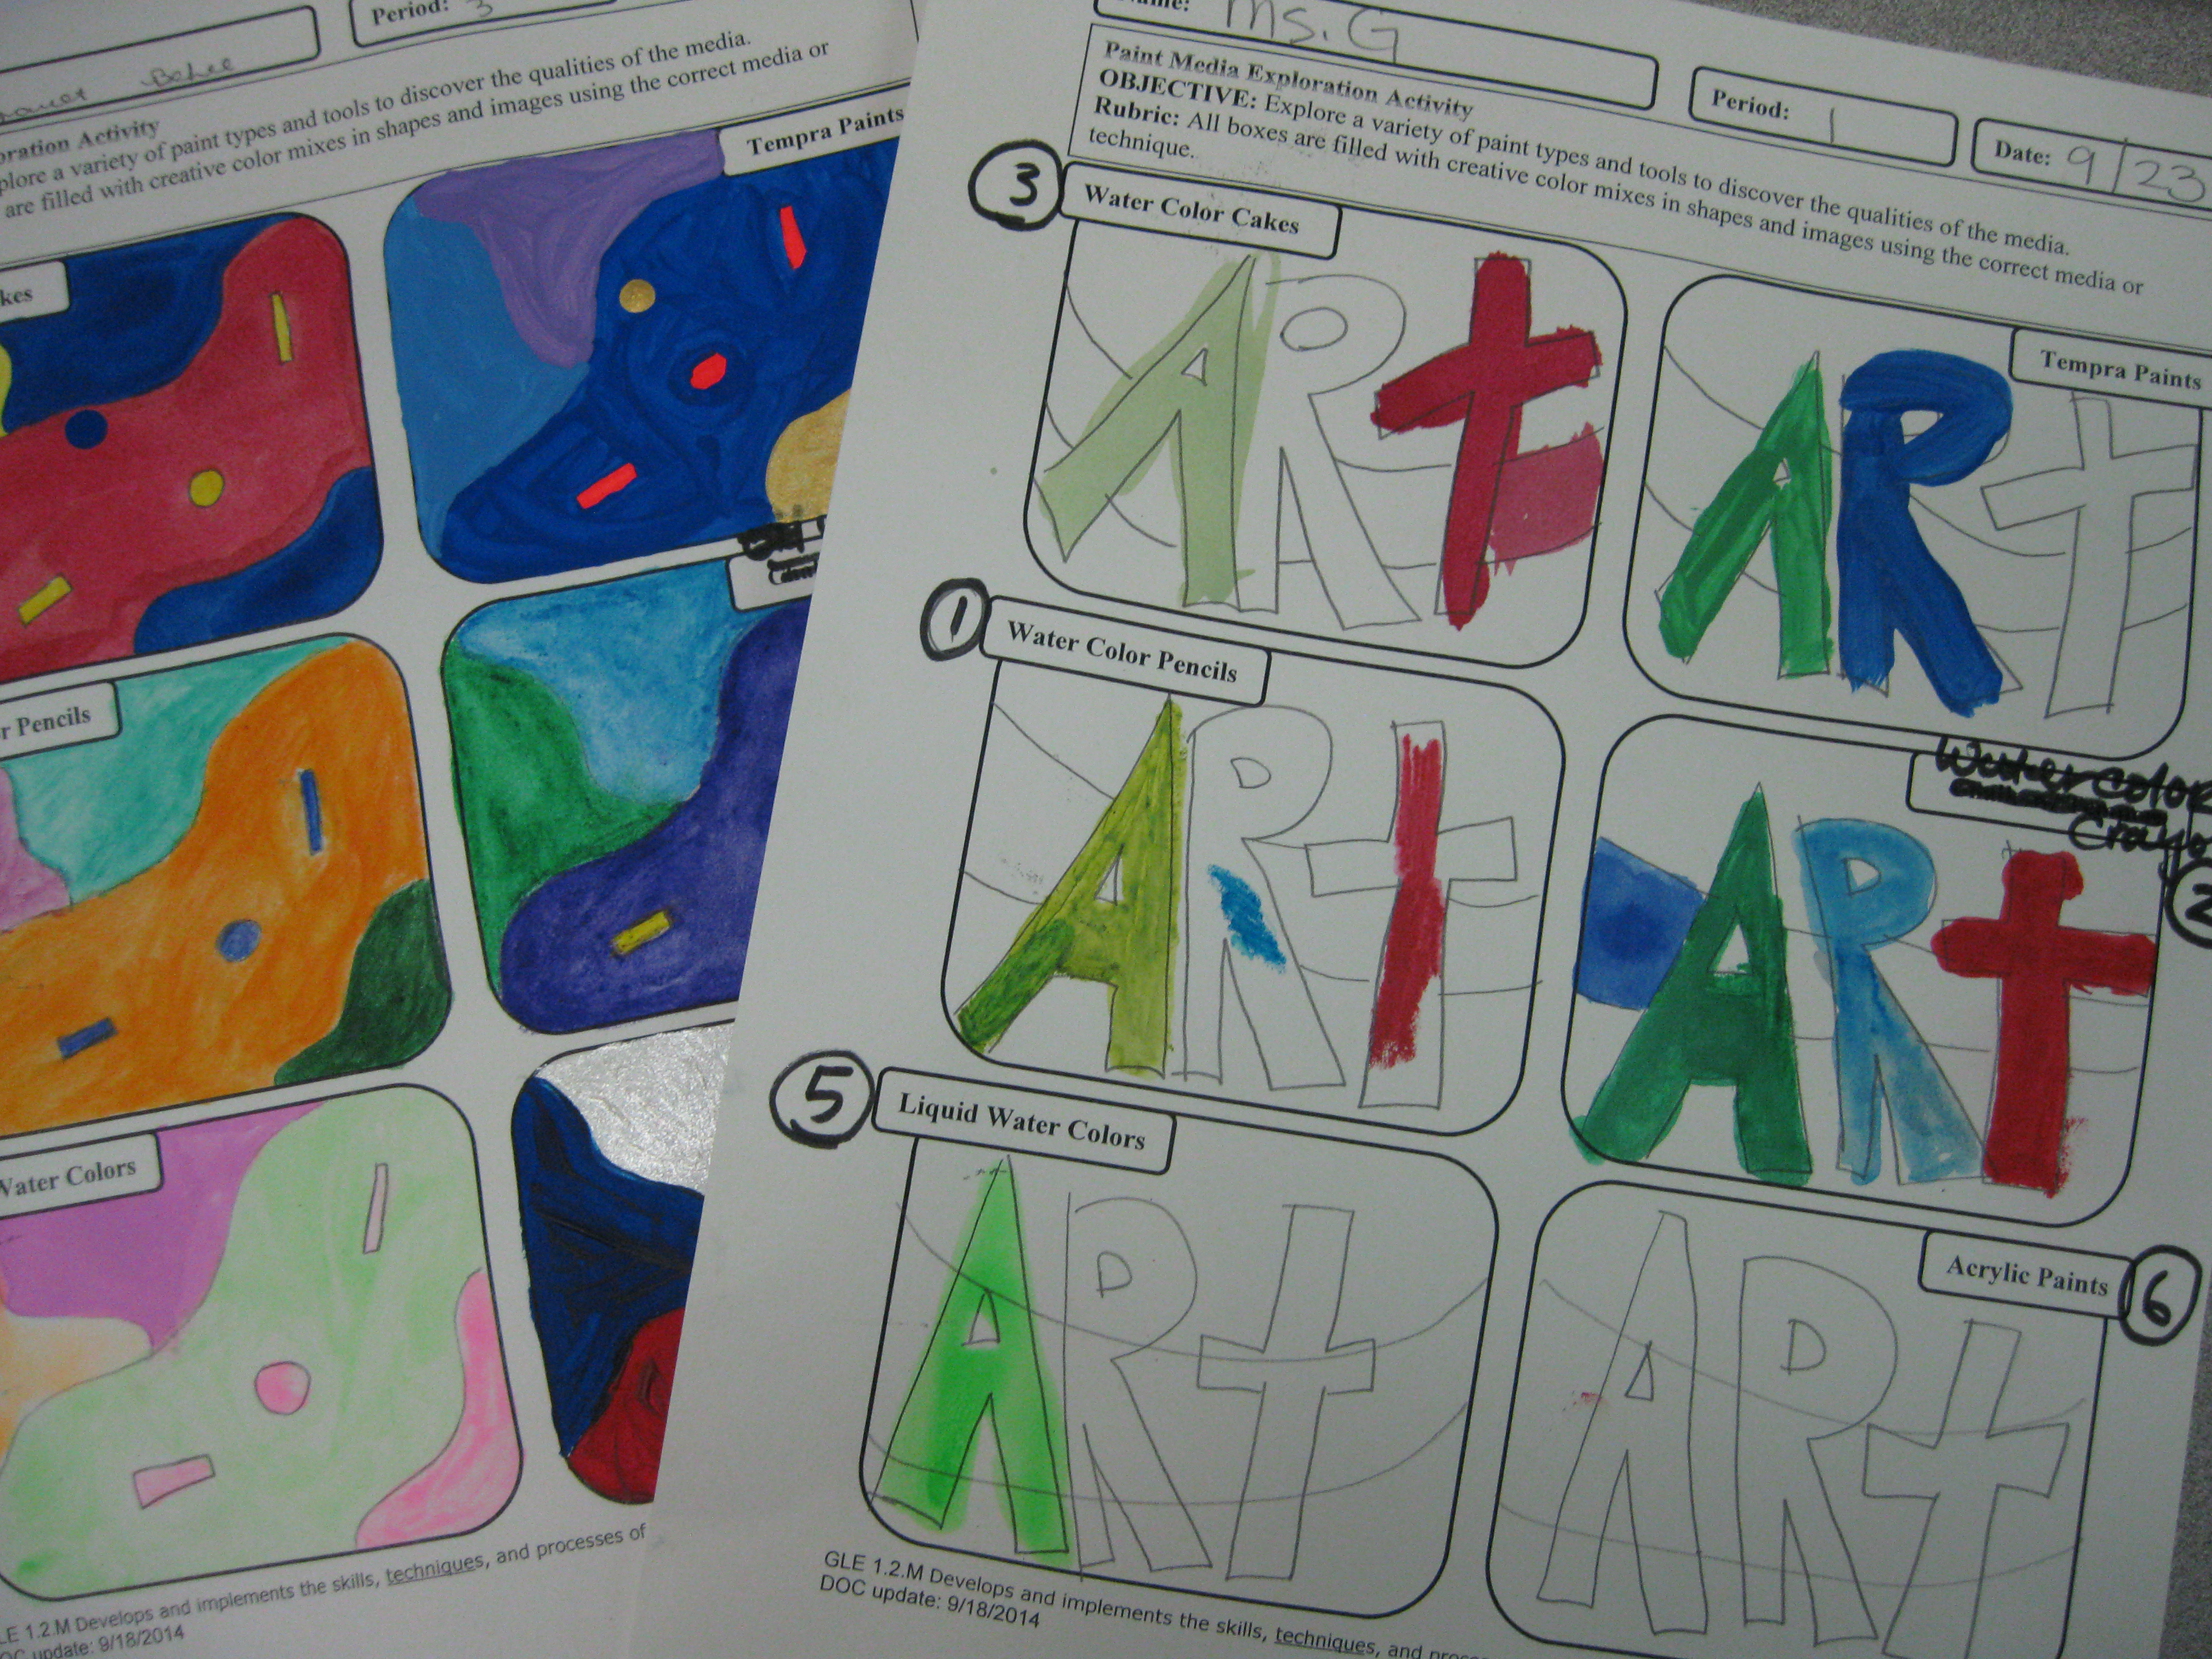
I had 6 different type of paint options this year. The basics: tempera, acrylic and watercolor. Then some alternatives: water color pencils, water color crayons (like oil pastels but water soluble) and concentrated liquid water colors. Other than clean-up related instructions and some tips on the 2 main methods of how to use the pencils and crayons, I didn’t give any demos or lessons on using the paints. The goal is to explore and notice how each paint medium is different.
Concentrated Liquid Watercolors
Procedure:
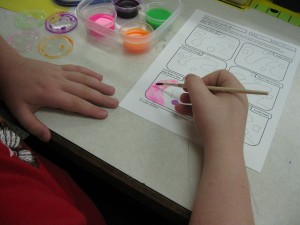
I did have them start by drawing the same word, image or design in each box. I asked them to use the same or a similar color as they went to each table. The point of this is that as they painted they would be making the same mini work of art and really be able to compare how the paints looked. A bit of apples to apples comparison, instead of apples to oranges. I had my TA make an example to show them a finished one to help them understand the goal. Then they went from table to table to fill in their little paintings.
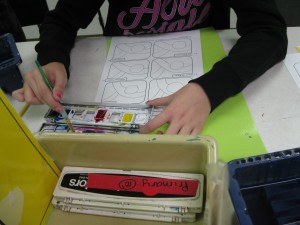
I required at least 3 colors per table and they had to MIX at least one color per table. I included my laminated mixing color wheel charts to help kids that had never mixed colors before. At the concentrated water color table, I only put out 4 bright florescent intermediate colors, while all the other tables had primary colors plus some. So when kids got to this table I heard a lot of “how do I mix blue?” Luckily, someone else usually responded with “you can’t mix blue it is primary” before I had to. But it had them scratching their heads while being forced to learn about primary and secondary colors.
While this activity is a little more restricted than most choice type activities, the goal is to explore paints and be able to compare and understand them for future use.
Watercolor Trays with only Primary plus black and white
Timing:
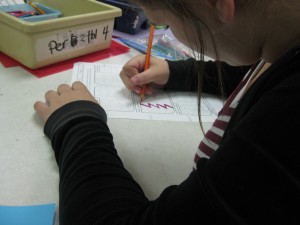
The first day (my classes are about 50 mins long) we went over the clean up instructions, assigned table clean up jobs, had some info about each type of paint, then they drew their pattern, image or word in all 6 boxes. We also numbered each box with the table number that had which type of paint. Table One had the watercolor pencils. This was supposed to help them get the right paint in the right box. But still many of them made mistakes. The excitement of all these new paint choices seems to make it impossible to read. They managed to get one box painted at their home based table before it was time to clean up.
Second day, we had to review some clean up directions, but then they were off to a new table to paint. Most classes got 2 or 3 tables done on this day. I called clean up for rotations about every 10-12 minutes depending on how students were doing.
Third day, I did my landscape lesson because the goal was that as kids finished the paint worksheet they would pick a type of paint to create a landscape painting. This lesson went much longer than I intended, so we ended up with only 15 minutes left. Not enough time to get out the paints and finish the paint worksheet. So I had them looking at reference pictures and do rough draft sketches.
The Last Day, was our advisory day so all class periods are cut down to 30 mins. We got right to work to finish painting. But this time I let all the kids be self-paced to move to any table they needed to finish. Kids that finished early had time to work on their artist goal or plan their landscape.

Tempera Paint Table
Some management issues:
My biggest issue was drying rack space. My room is pretty small and my drying rack is a small table top style. It has springs to fold shelves up and down, but these are still very tight and like to spring up and fling paintings all over the place if not properly loaded or unloaded. So I had to stand at the rack to load during clean-up. One of the table jobs was to bring all the papers from the table over, so I only had 6 kids coming to the drying rack instead of 30. But it prevented me from circulating to keep an eye on clean up.
I also had to unload the rack in the middle of the day, since the rack is not big enough to hold work from all students, all day. This is one of the reasons I like choice. My first year teaching in the room, I tried an all period, all student, 11×17 sized painting project. I quickly ran out of room for all the paintings. This is why TAB choice can be so great. Only 6 or fewer kids will paint per class, so usually I never run out of drying space.
Moving so many kids through so many table centers so quickly did end up with a bit of a mess. Too many kids were mixing colors in the pure color containers. This happened the most at the acrylic table. It happened even though I gave instructions about mixing colors directly on their paper or on some paper towel. Apparently, I should have provided some better mixing pallets at that table.
The water color crayons also became a slimy mess. I think kids were throwing them back into the bin super wet, getting all the other colors wet and mixed. I am almost ready to just toss the remaining slimy nubs that survived the 3 day torture fest. This is another reason why TAB can be great. I have only used up 2 sets of this expensive supply instead of 30 sets. I could never afford a whole class set of this more expensive product to do a required class project. But I could afford 6 sets to try them out. The remaining 4 sets that haven’t been opened will be perfect for those few kids that loved the medium and want to use it in a future project.
Changes Over the Years
2020-2021 Sadly no around the room games during Covid times… I look forward to ramping these up again once the sharing materials restrictions are lifted.
2017 I have gone back and forth with having the kids do vocabulary on the back of the worksheet before they start to paint.
What kind of paints do you use with your students?
What skills or techniques do you want them to learn or try while exploring?


