

Since 2014… Opening the Drawing Center usually starts with the “Draw Around the Room” Game.
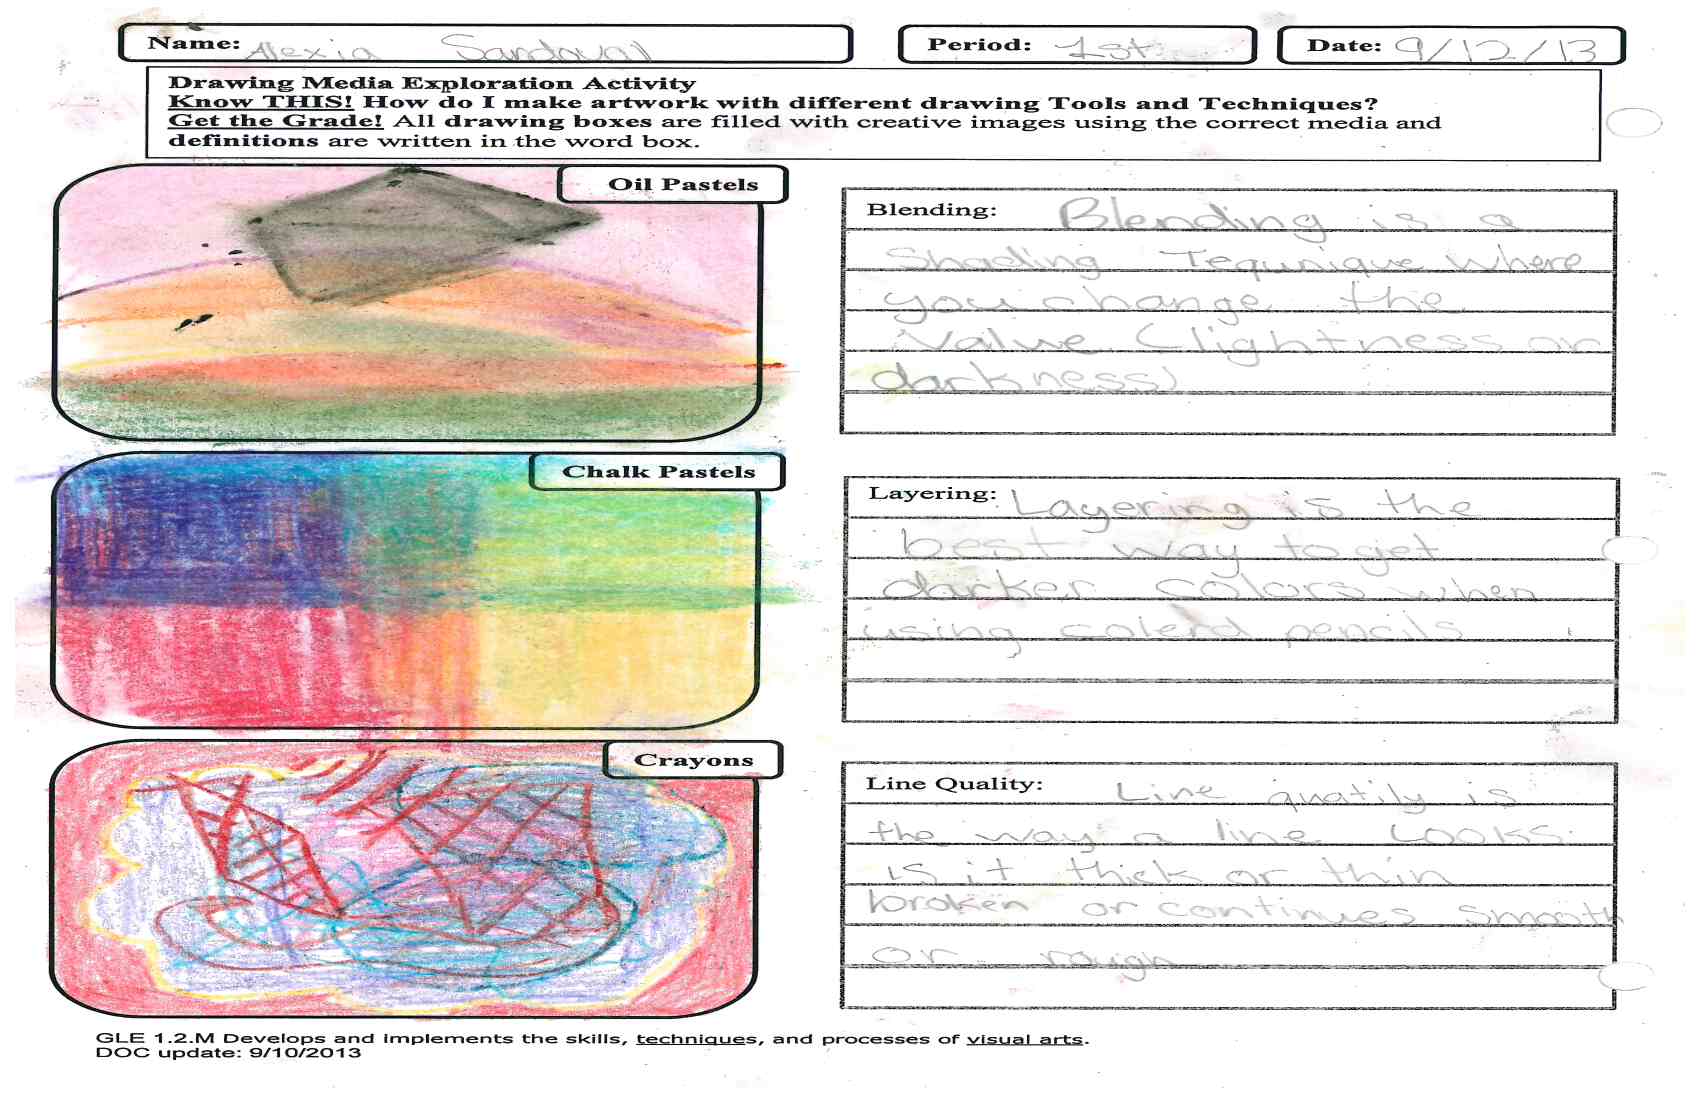
I set out different drawing materials at each of my big art tables. Each table has materials and laminated technique/vocab cards and some examples of art in that medium. I have 6 tables so we explore chalk pastels, oil pastels, drawing pencils, colored pencils, crayons and markers. Students get about 10 minutes at each table to explore the medium and copy down vocab words.  After this activity they have a better idea of which mediums they like to use. We close with a discussion about which mediums are better for which type of artwork.
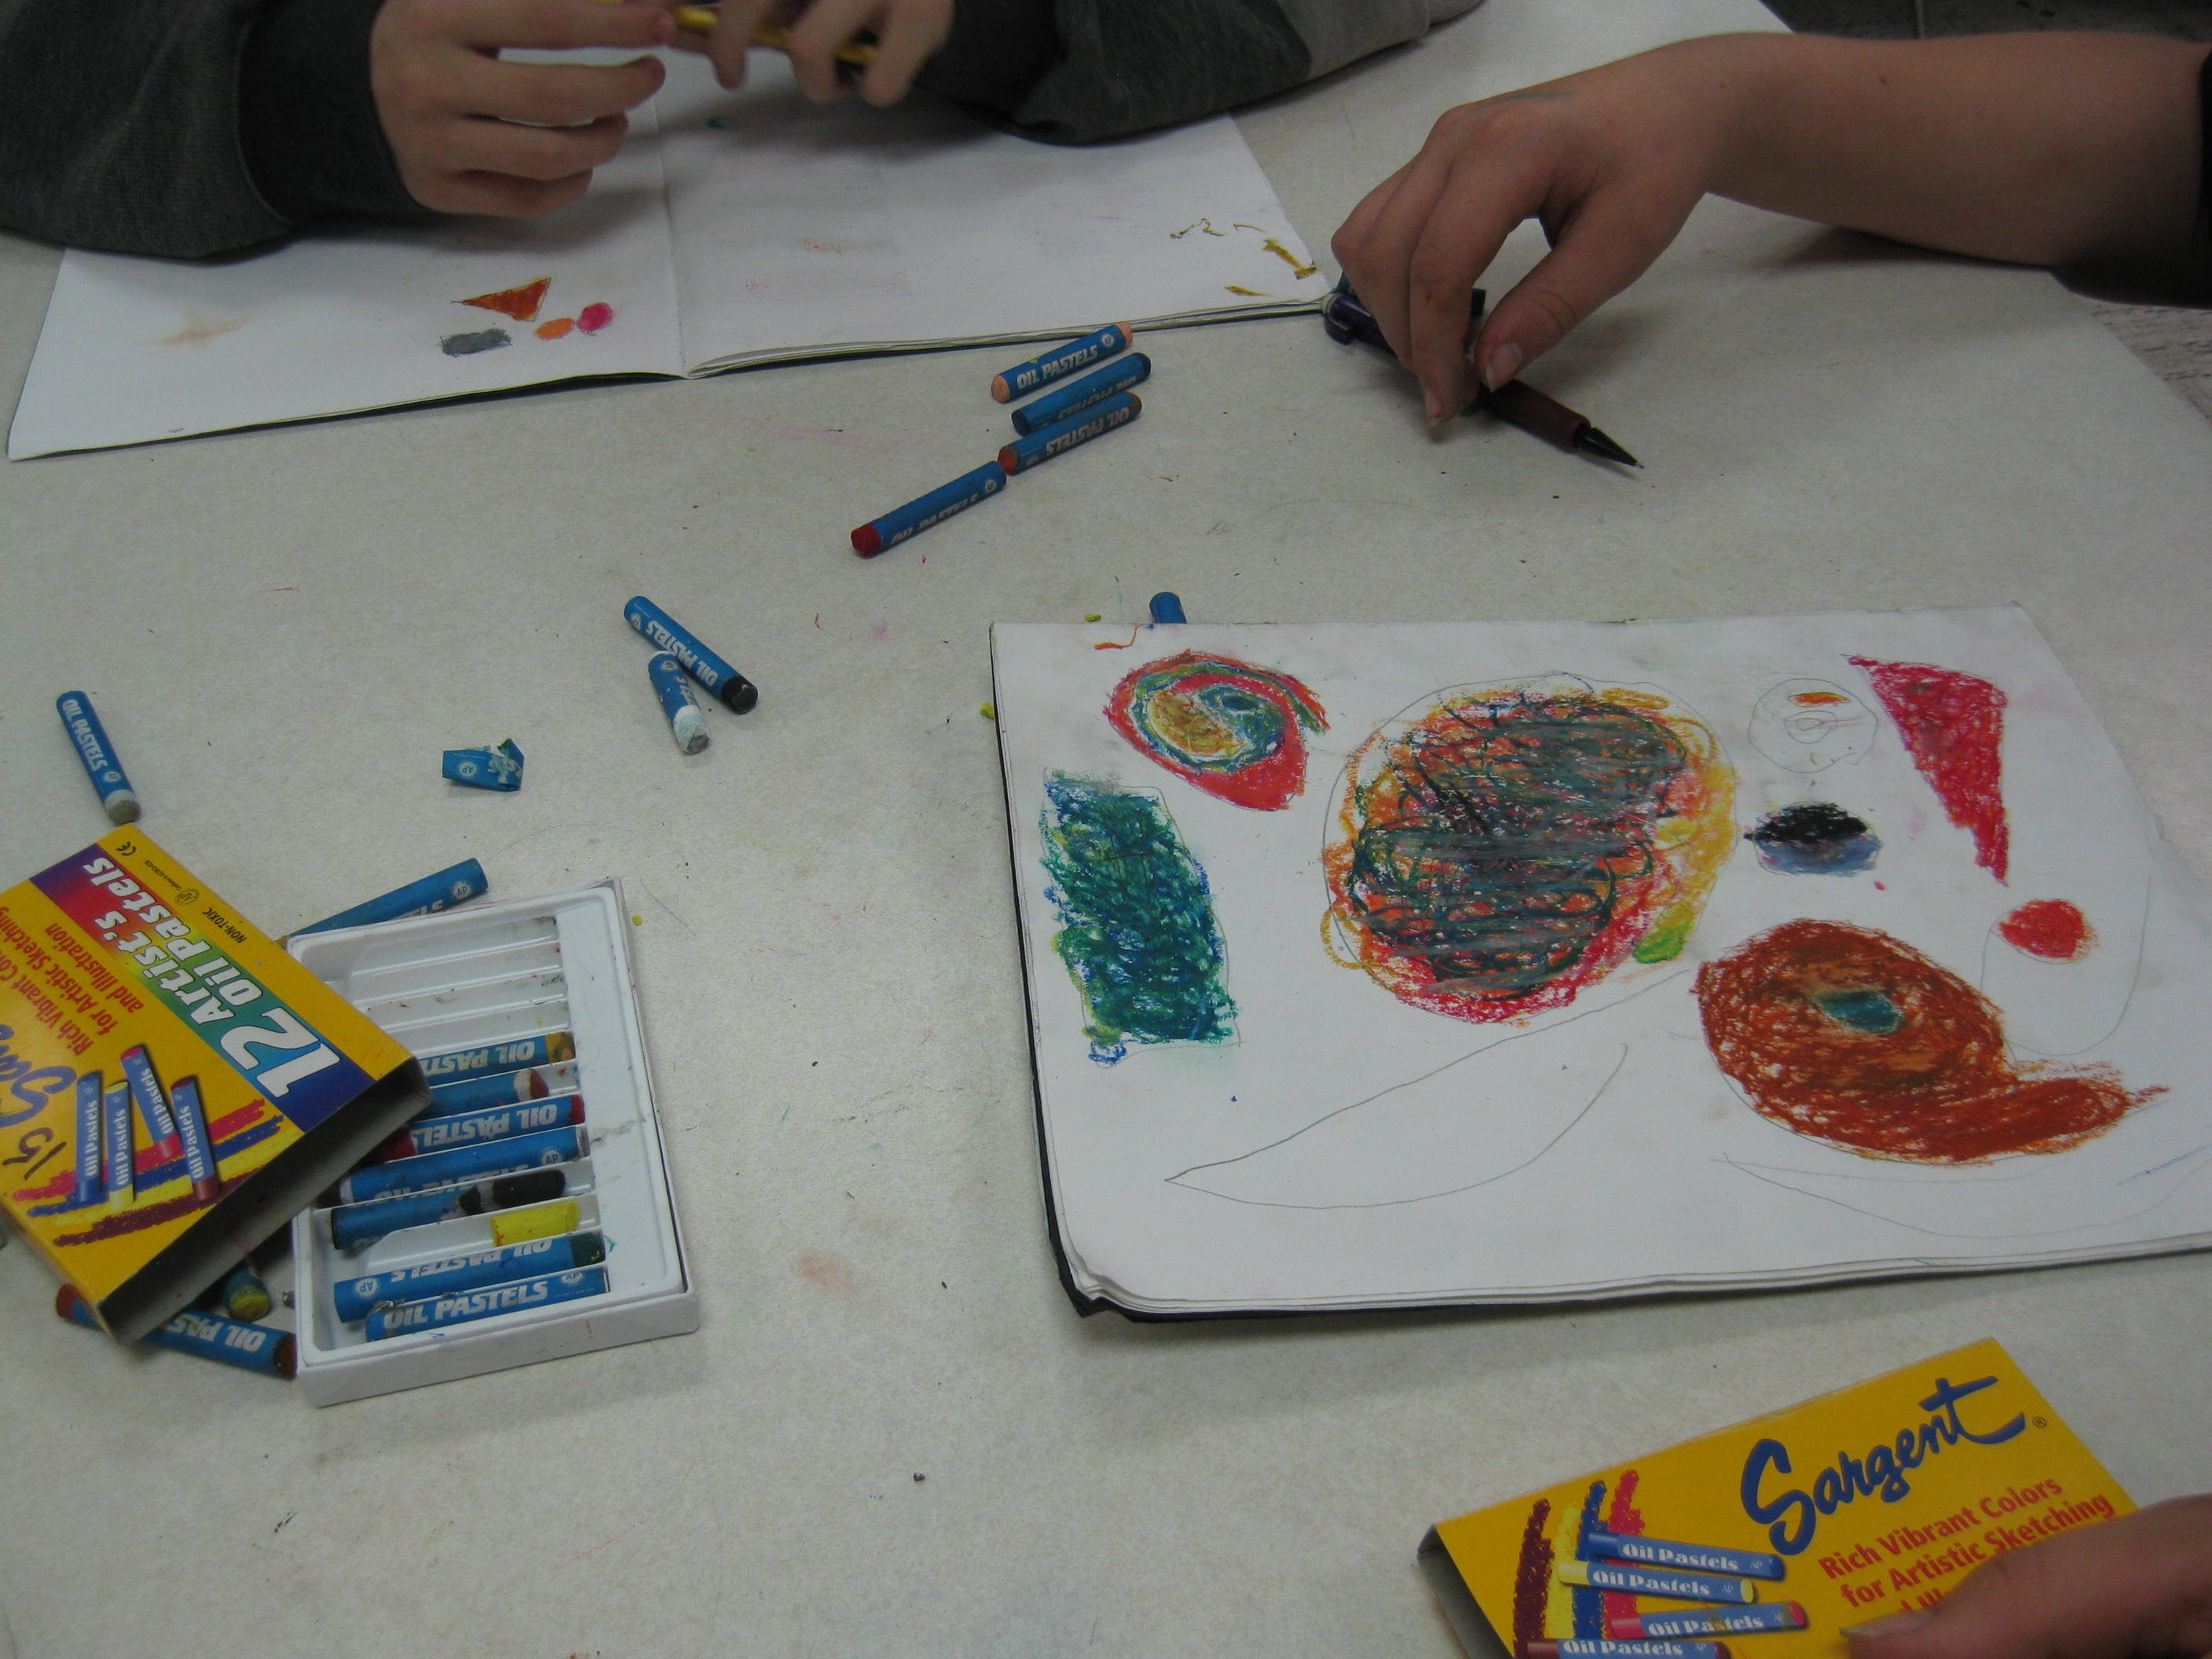
Demo inspired pastels
Since my periods are about 47 minutes, this activity usually takes 2 days. But due to absences, we usually have a few that need to finish on a third day. Since I do this at the very beginning of the semester, the next assignment is a pre-assessment where students draw the “Best thing I can draw~ right now.” They can choose which drawing media or combination that they want to use for this project. I give them 2 class periods to work on this assignment. Together these 2 projects introduce the main art medias available of the drawing center while also allowing me to get to know the student’s abilities and affinities.
Changes Over the YearsÂ
2020-2021 Sadly no around the room games during Covid times… I look forward to ramping these up again once the sharing materials restrictions are lifted.
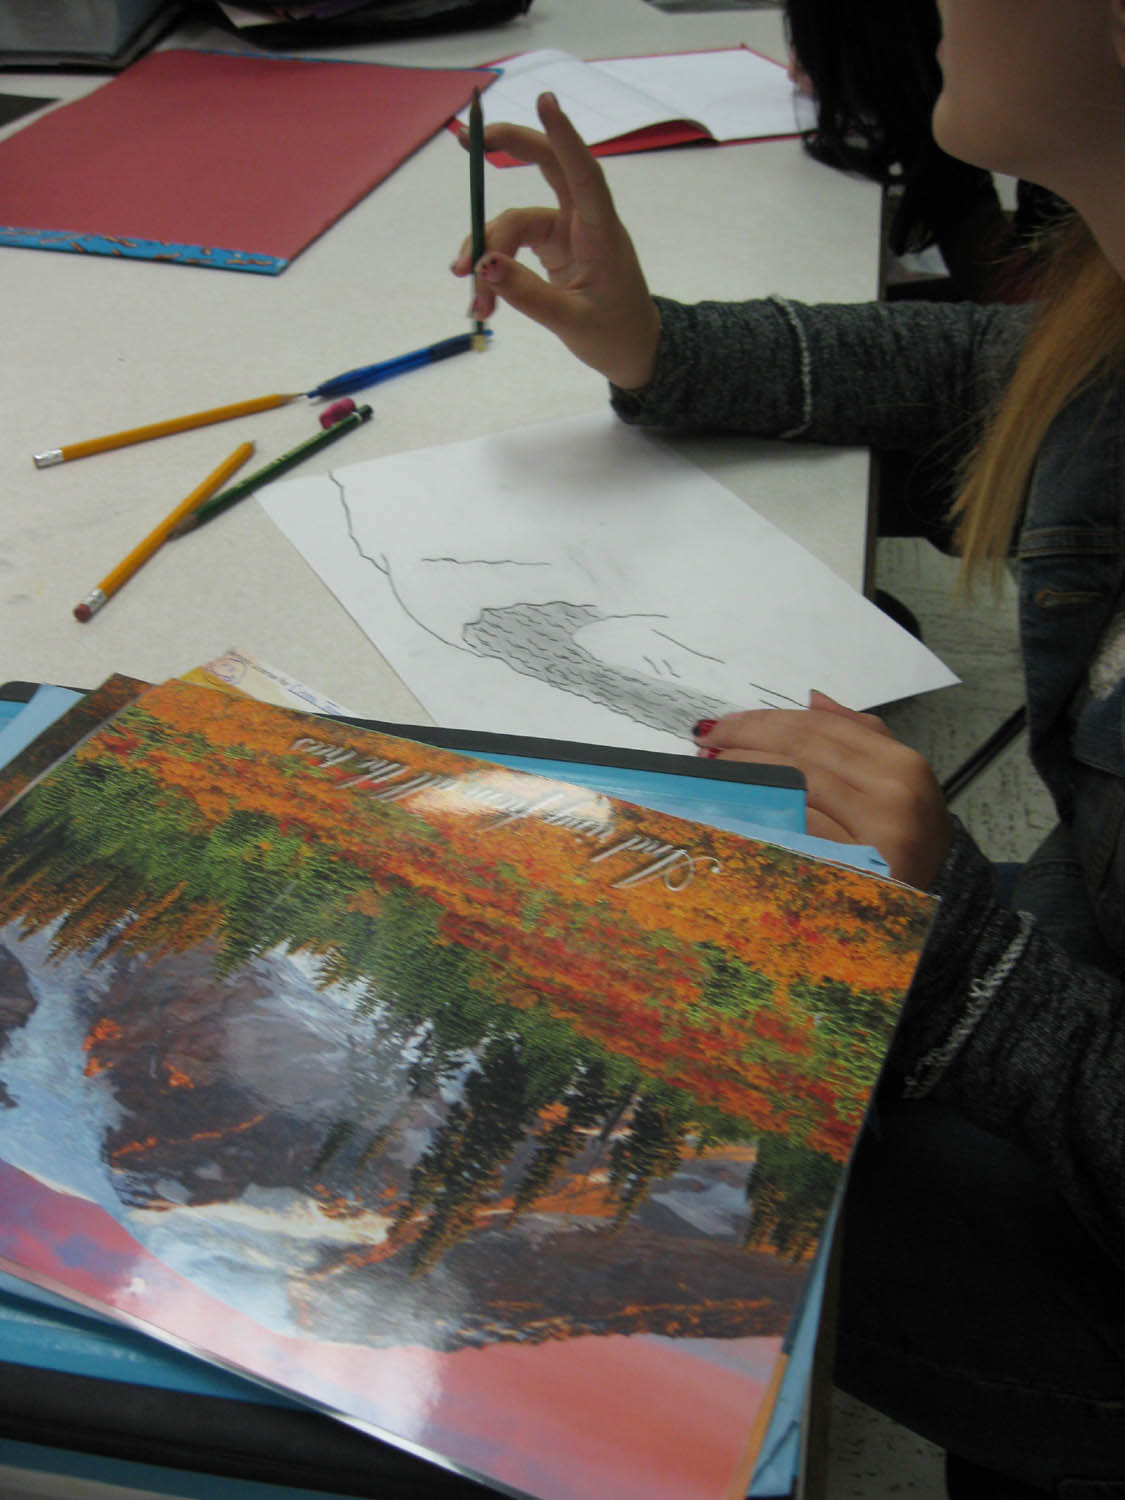
Using reference pictures to plan an artwork
2017 Updates
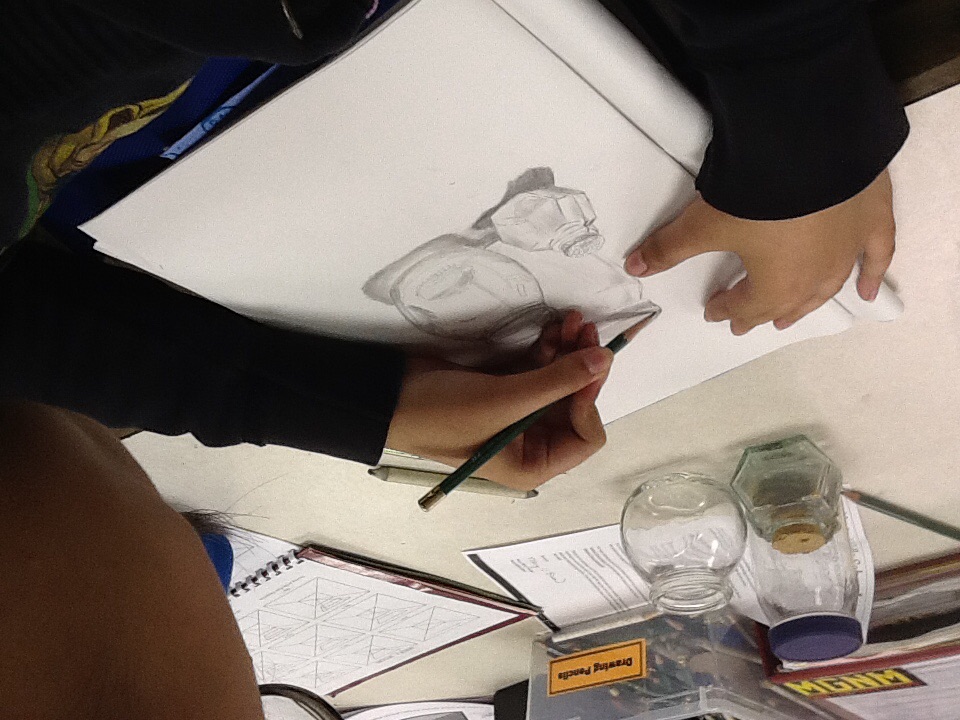
As I noticed that kids were not taking full advantage of the Resources in the drawing center, I added those to the tables too. I tried to match the type of resource with the type of material. So texture plates were with crayons, still life objects with drawing pencils, colored calendar pages with pastels, etc. This change has helped kids become more aware of not just the mark making media but also the other resources available.
2016 Updates
- I updated my vocab cards for the tables this year to match my word wall format. The card is now 1/2 a page, landscape style with the picture and definition on the same side. In previous versions, they were 1/4 page flash card style.
- I also put the main part of the definition in RED to help kids know what was the important part of the definition. Our school is very into DOING and illustrating vocabulary, not just copying and memorizing text. So the goal is for the kids to demonstrate the word with the material.
- In an attempt to keep the word cards with the right materials, I color coded them before laminating them. I made 3 copies of each word for each table. There are 2 sets of words for each table, a required word (one that is a good technique that goes with that art media) and a bonus word (one that is a art style or concept.)
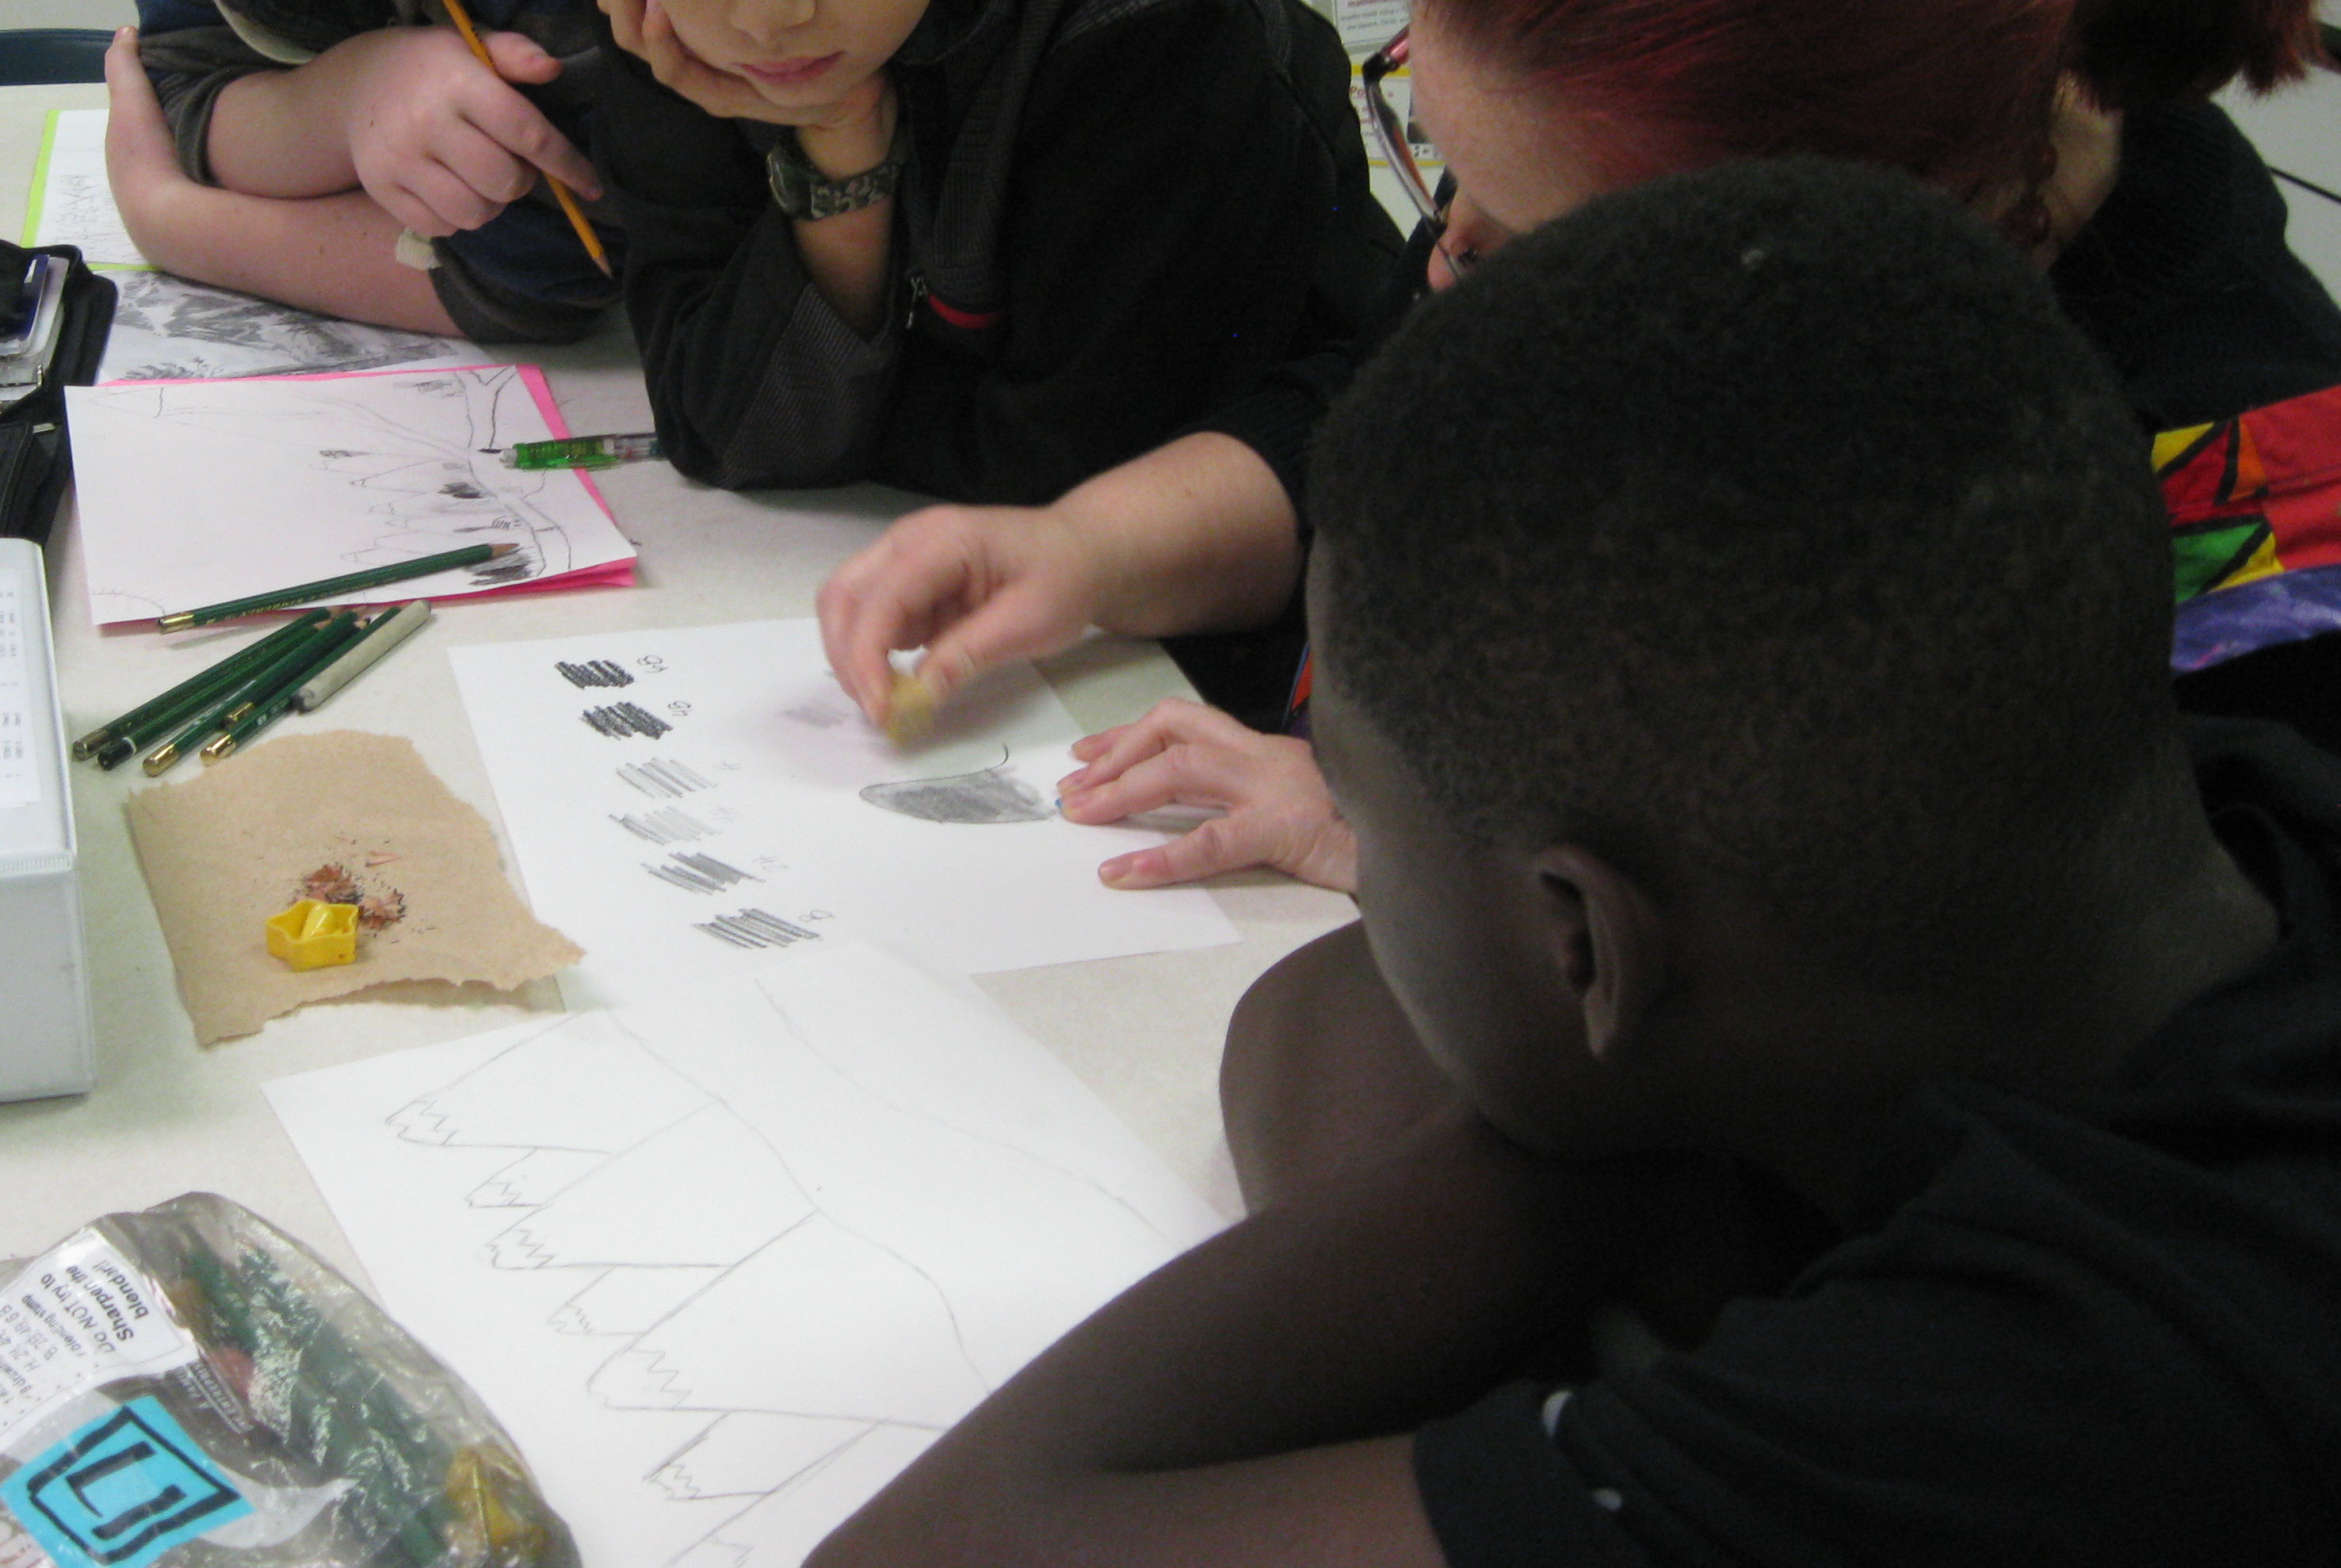
Mini demo on blending with artist pencils
The Good: Once again this is a great activity for doing a quick introduction of many drawing materials in a short time. If you really wanted to shorten it, you could skip the writing of the vocab words and just allow students to draw/create/experiment in the boxes. Many of my students are repeats, but I still have them do these center intro activities. If they remember the activity, ask them to try new things with the materials. None of the complained about doing it again, most all of them went further with their skills but finished faster than the new kids.
 The Bad: Some how I ended up with 2 versions of the worksheet going around… one from last year and a new version. So the chalk and oil pastels had blending and layering vocab flipped. It just made for some confusion with where the word cards were located, but it worked out in the end. Don’t forget to put some paper towels or even wipes out at the pastel tables! I also have “Coloring Mats” (laminated colored paper 11×17 size) at each table. This is helpful for when they are writing definitions on side 2, with oil pastels already colored on side 1. Without the coloring mats you will end up with oil pastel definitions written all over your tables. My 8th grade classes finished in one day, but my 6th grade classes need two days. So the 8th graders had a free art Friday.
 Printer Problems… I don’t know about your copy machine, but mine does not like card stock! I do all of these game sheet on card stock, because it holds up best to the double sided drawing, rubbing, and blending that happens. Plus markers bleed through if you are using standard copy paper. But trying to do double sided on card stock is not something these machines like to do. I ended up using the special side feeder tray and only printing one side at a time.
Next Time: I think I will come up with some new “Bonus” words for the tables for kids that have done this a few times. Or possibly a bonus “Mixed Media” page.
~~
How do you introduce new art mediums to students?
Do you require kids to try out something during or after your demos?


Love, love, love drawing around the room! Thanks sooooo much for sharing Cynthia!!!!
I have a collage one and a painting one I will share soon too! I like doing it this way because it allows them to easily compare and learn all the mediums quickly. Many discover they LOVE or hate the messy pastels.
I cannot believe I hadn’t found you before now!!!
I’ve struggled trying to adapt my teaching and think the modified TAB may work for me. Draw around the room is an awesome concept. I would like to edit the worksheet to create a more personalized sheet that corresponds with the specifics I’m focusing on–drawing/painting/ect….. but I don’t have time to reinvent the whole sheet. Would you mind sending me a pdf that can be edited? Purely for personal use in my classroom. (if you were worried.)
Thank you so much…