Using reference pictures to plan an artwork
So far this year we have explored drawing, collage and paint mediums. We learned how artists develop their craft and learn new skills. We learned a little about surrealism and made a quick collage. This was a fast paced run through a bunch of mediums, just doing a bunch of exploring.
Now we are slowing down. We had a lesson learning about the often painted subject of a landscape. We talked a bit about showing depth and space in a 2-d space. Then students got to make their first choice. Originally, I had planned for the landscape to be a small, short 2 day painting activity. Instead, I decided to allow the kids to choose from ALL the mediums we used so far for the landscape.
Timeline: A lot teachers interested in Modified Choice wonder how much time I spend on lessons vs exploration vs studio vs themed projects vs free choice… So here is a timeline for this project.
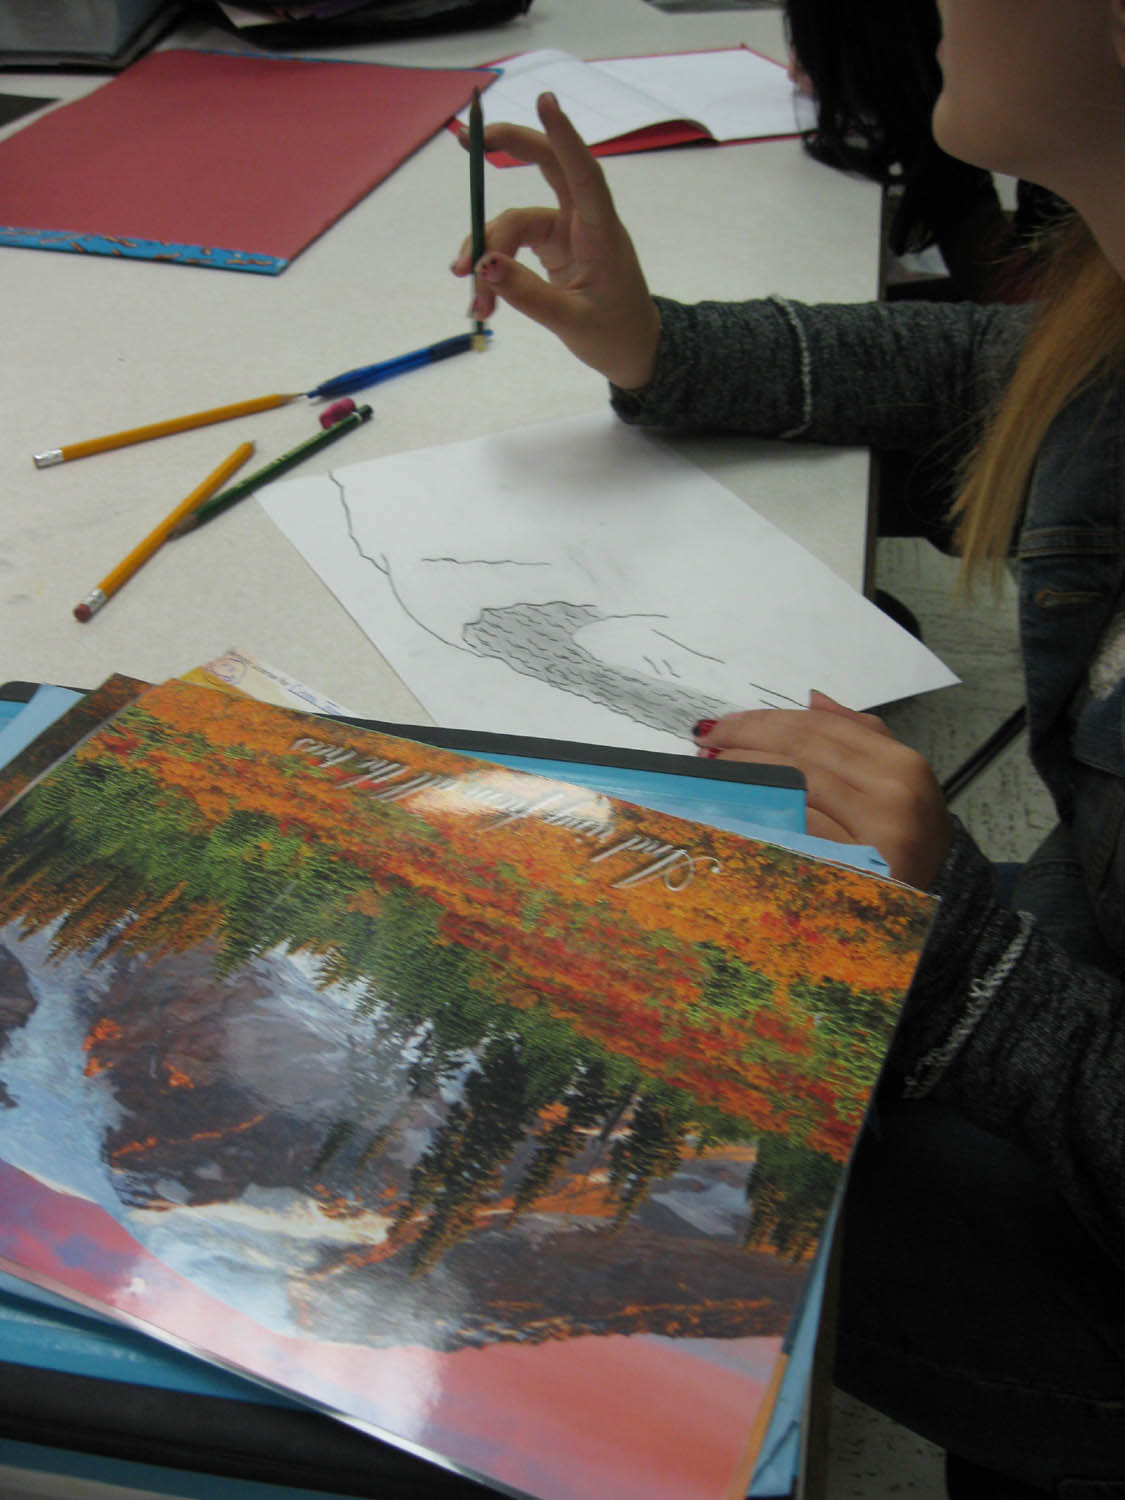
Introduction: I spent one period on the landscape lesson. This was a bit longer than I would like to spend on a lesson, but  the last 15 minutes was spent doing some planning, looking for reference pictures and doing some thumbnail sketches. This was on the Thursday in the middle of our paint around the room activity. On Friday, kids continued the paint activity or began the landscape plan. Towards the end of the Friday work time, I had kids declare their medium for the landscape, if they had decided. Monday, we moved tables based on that medium choice.
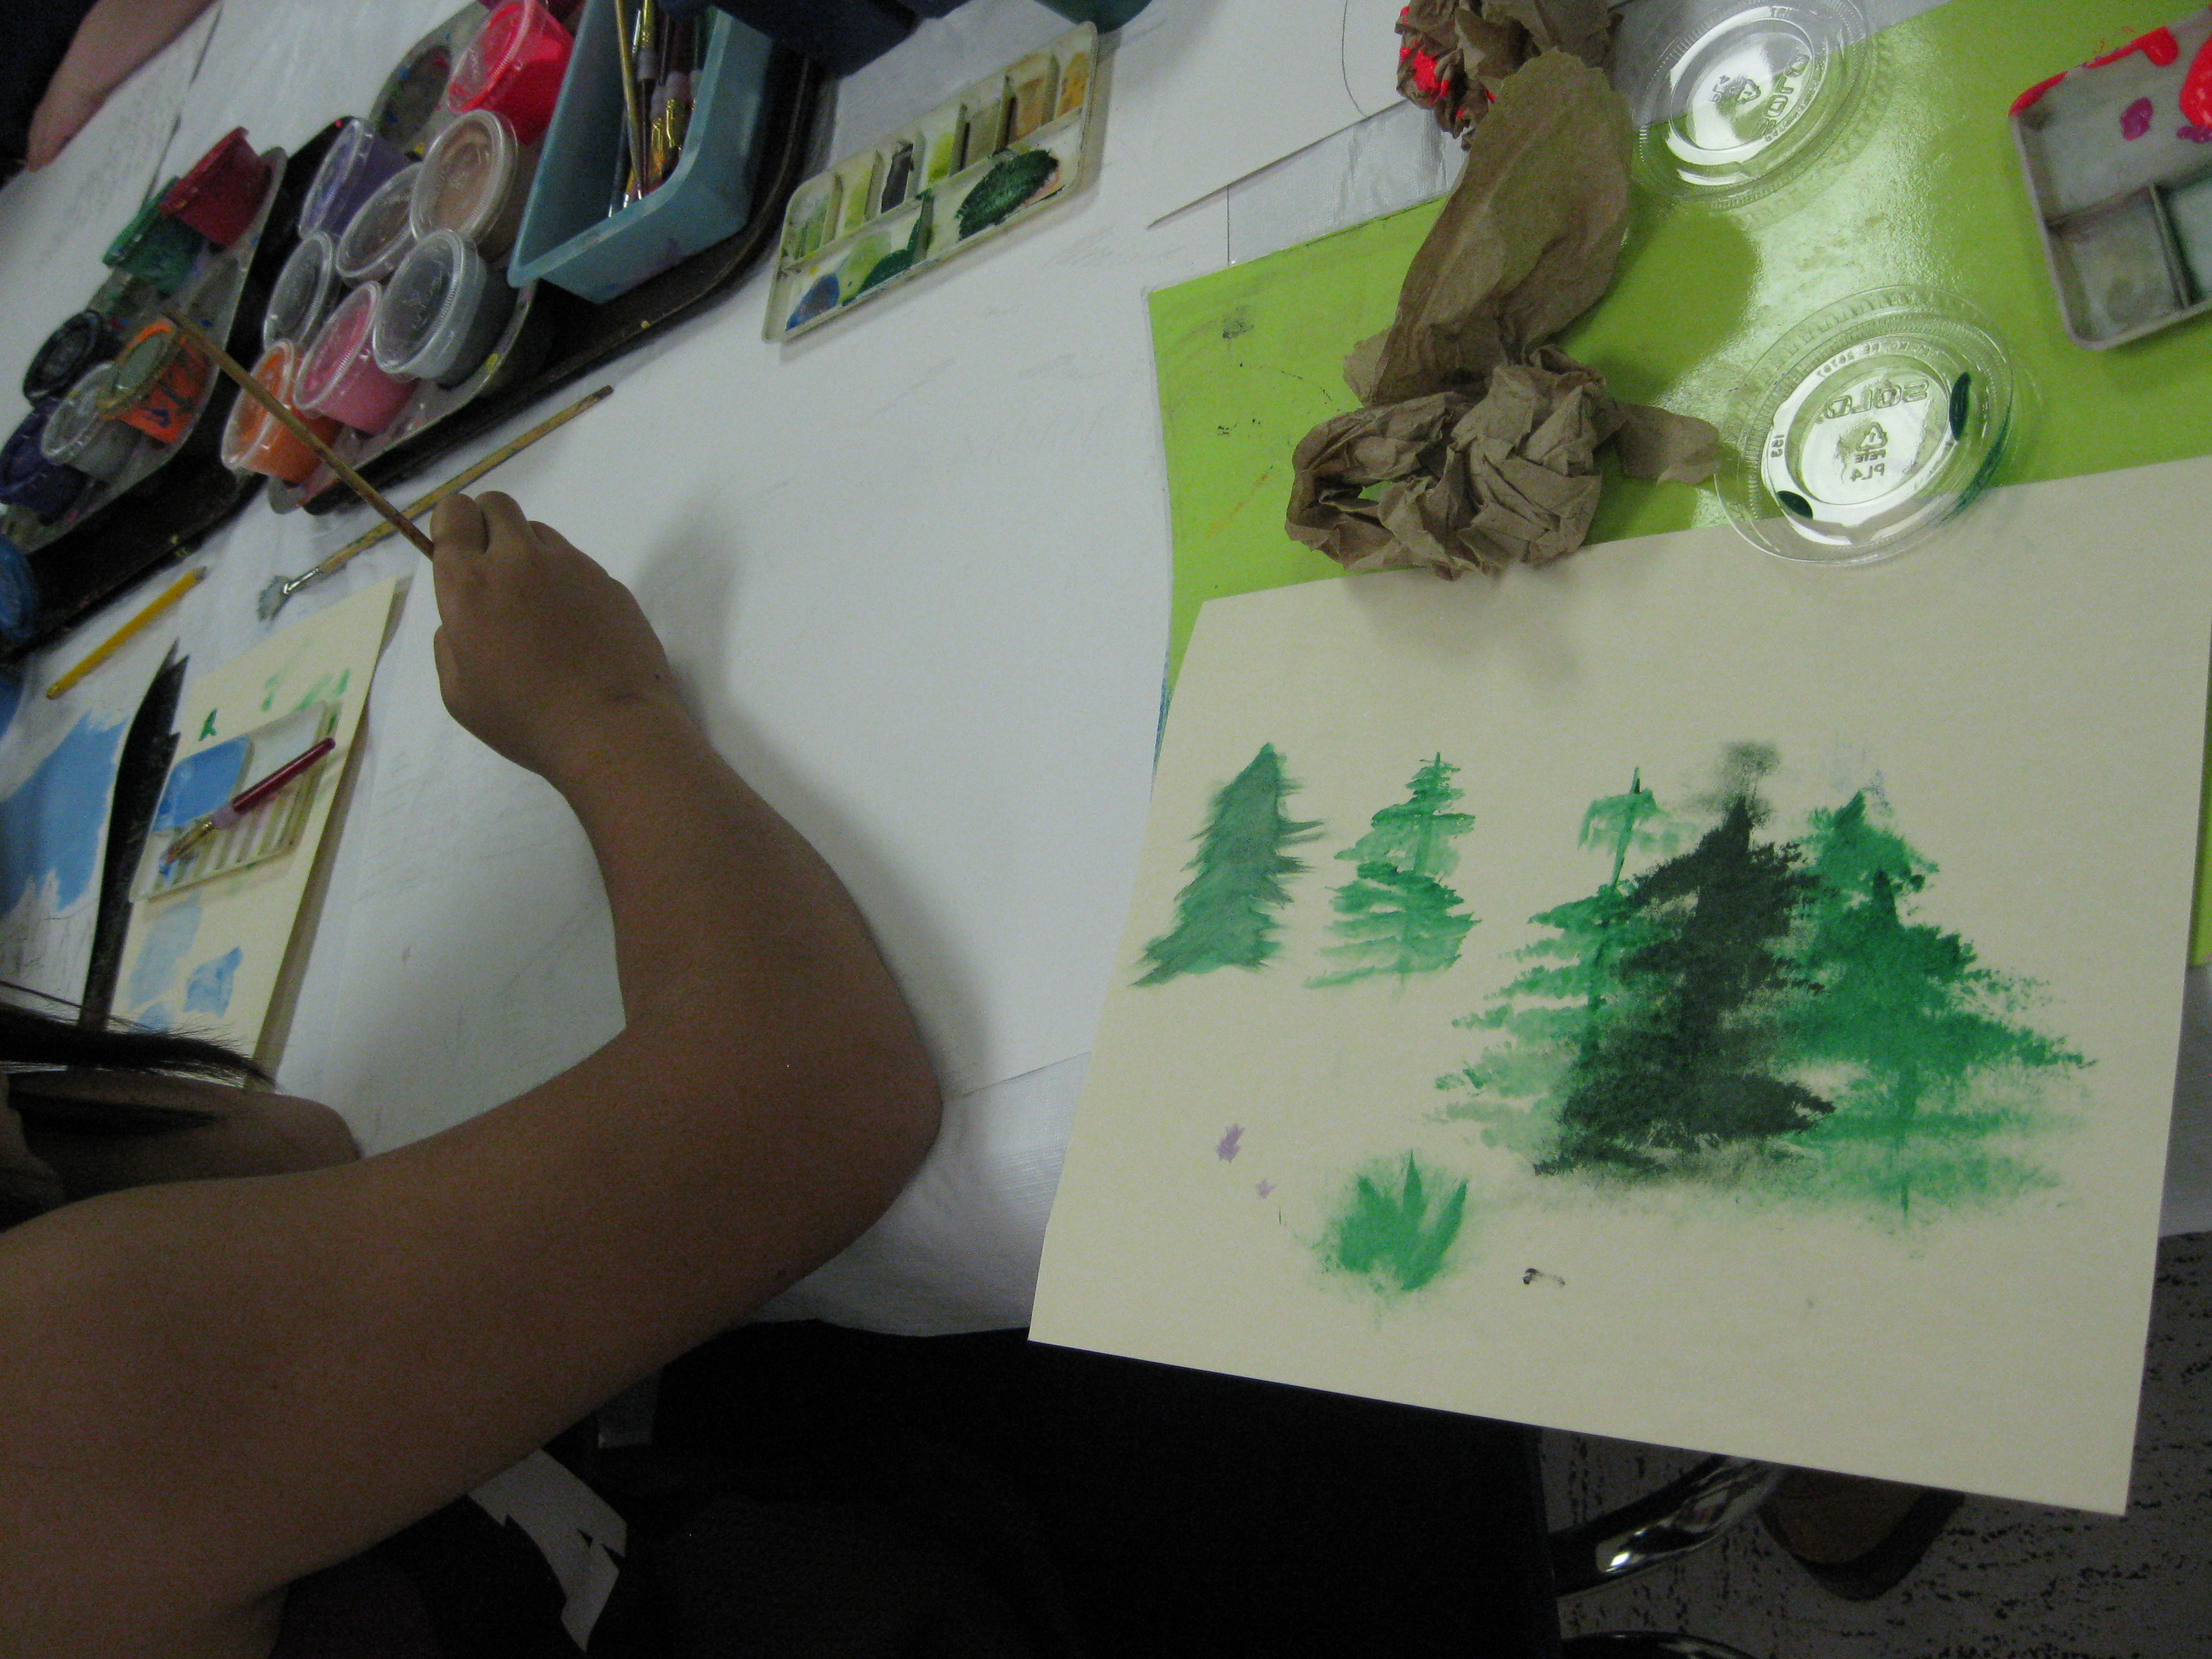
Experiments with a fan brush after watching some Bob Ross
Conferences: For the themed assignments, I do require students to make a rough draft plan and then conference with me before moving on to final draft. For my more skilled and determined artists these meetings are usually short. I look at their reference pictures and their rough draft, they confirm their media choice. If I see an area where they need guidance, or if they have any questions then we discuss it. I have a date stamp from an office store that I stamp their sketch book with to show approval and I give them their final draft paper. I have several different papers on hand, both in size and weight, that I let them choose from. I also have a printed class list on hand where I record their medium and highlight their name to remind myself that I have approved their drafts. They go back to their seat (located near the center they will be using) and get to work.
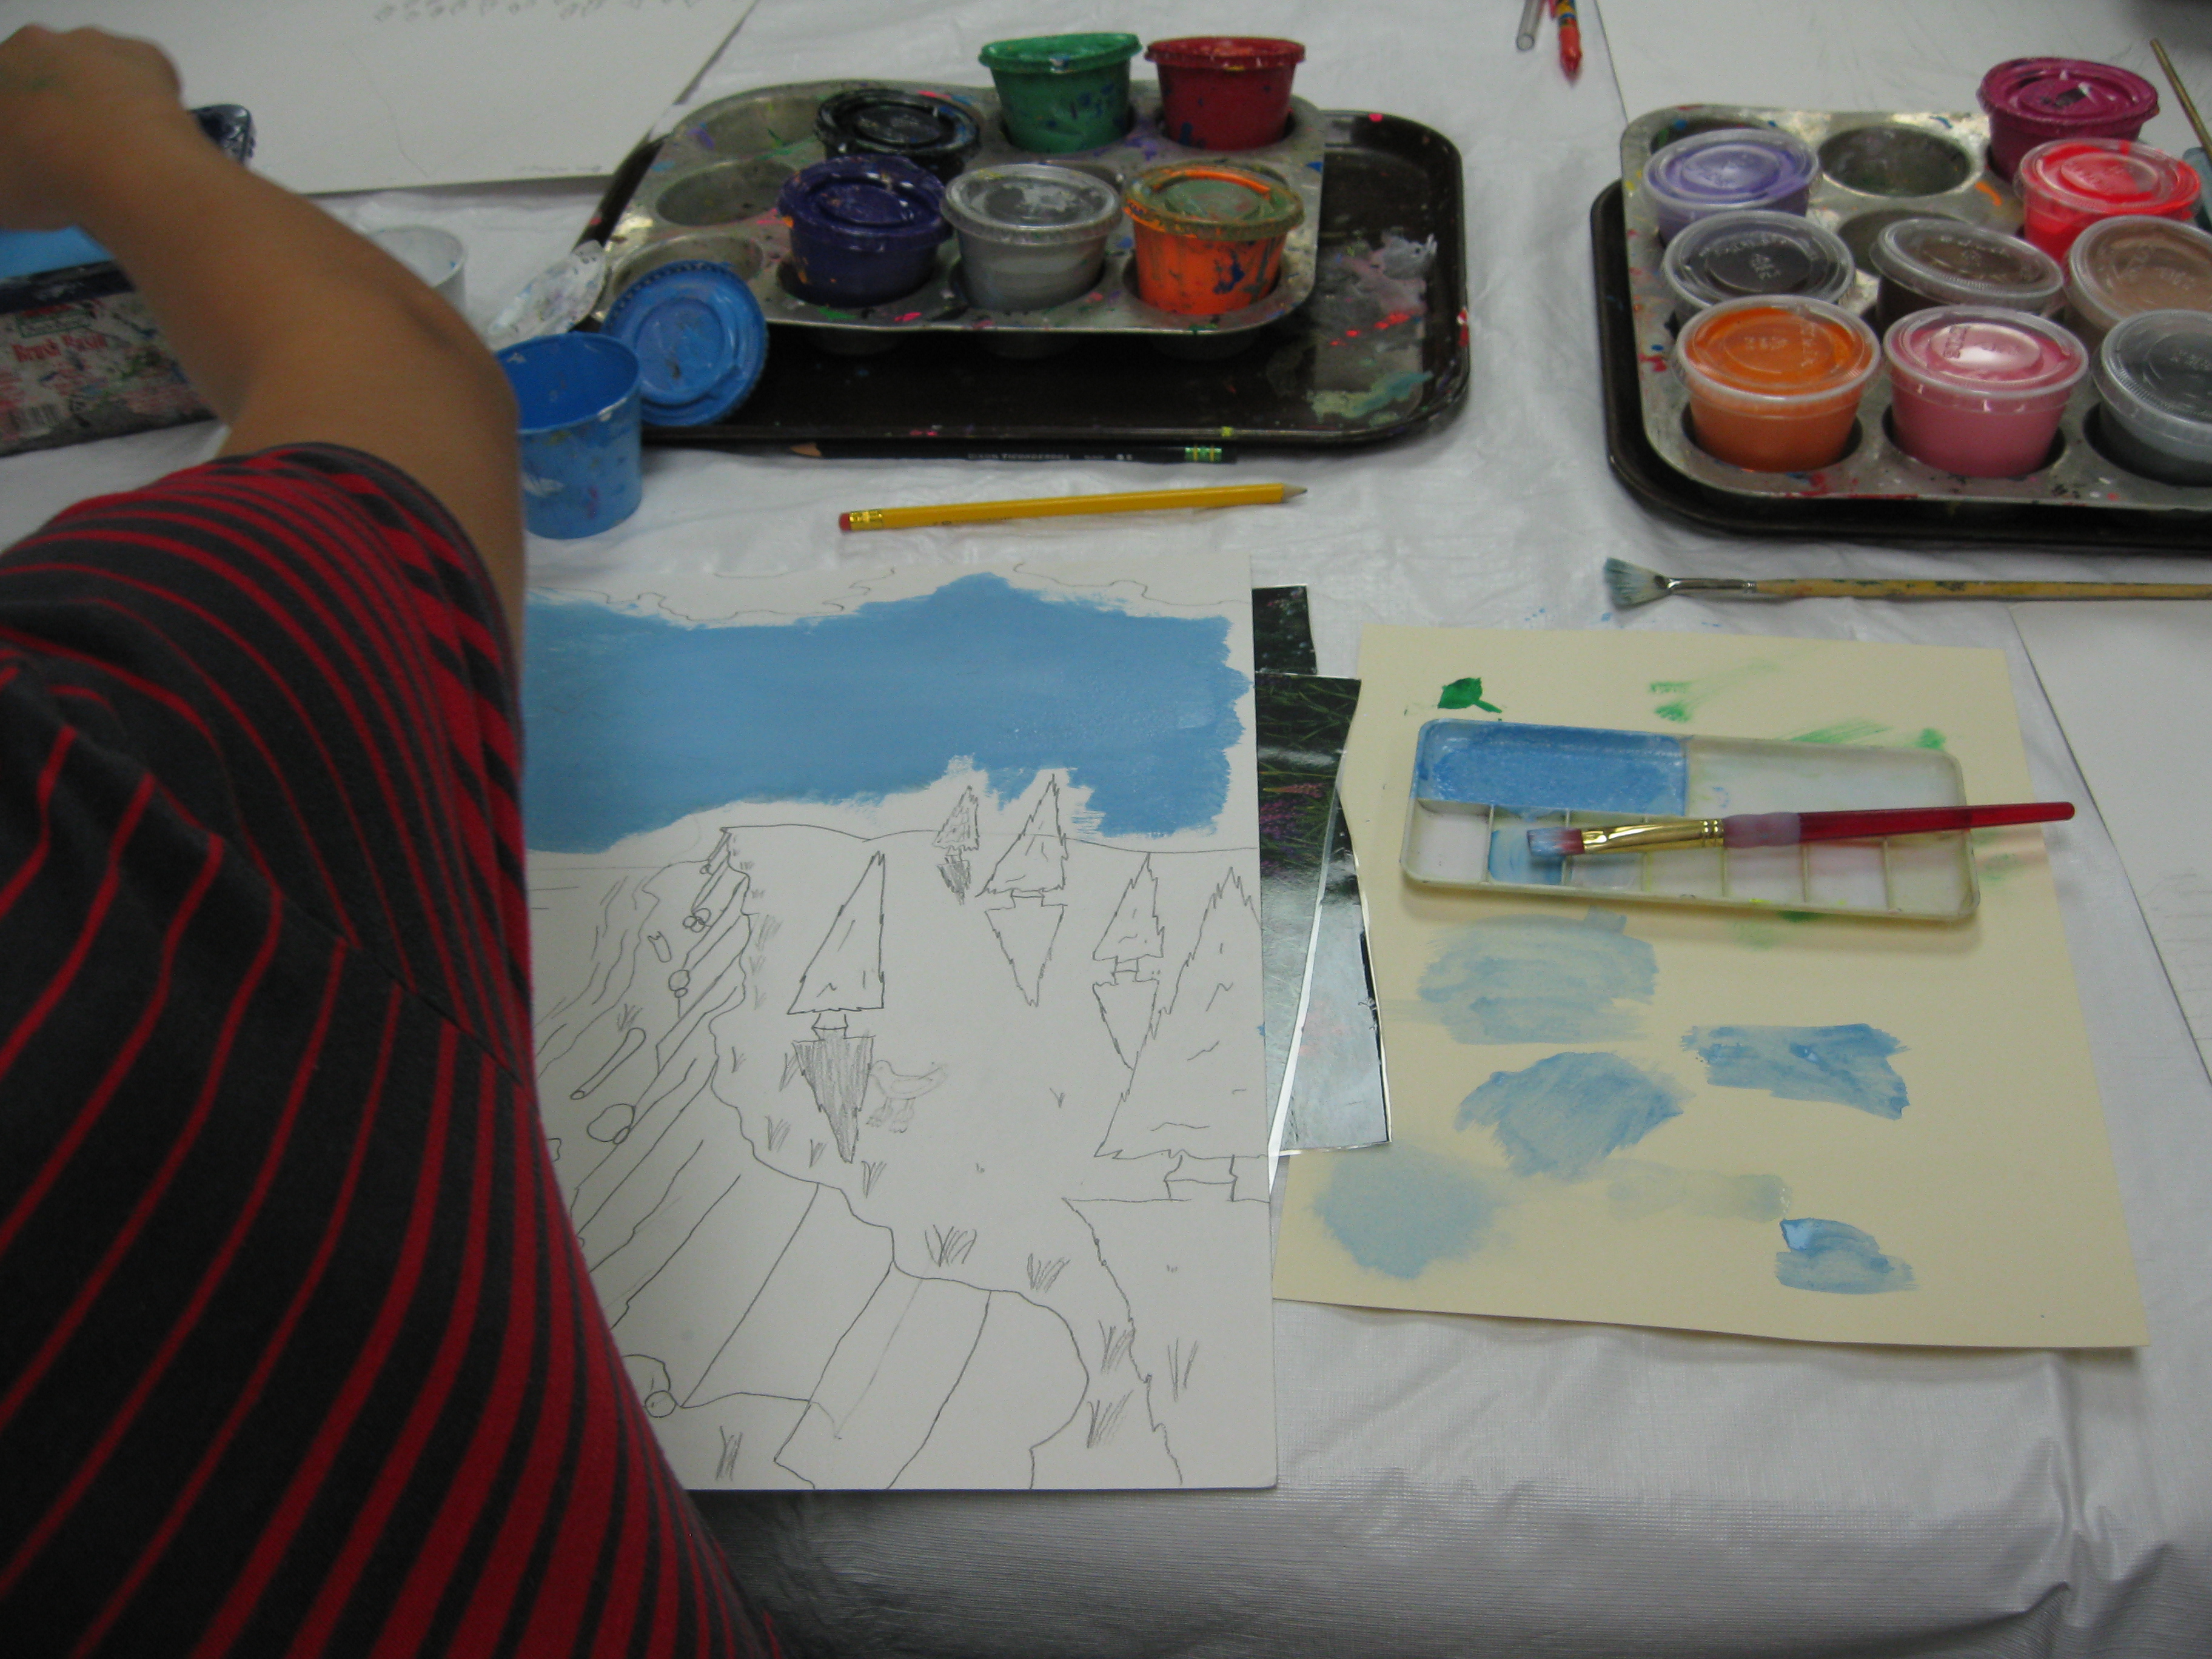
Painting with tempera and mixing sky colors
For my newer artists, this meeting takes a bit longer. We will talk about their plan and I will look at their rough draft. Usually from the draft, I can see exactly where I need to coach them. For this theme, a repeat mini lesson on using foreground, middle ground and background to show depth is common. Another part of the conference is help finding a better reference picture for their skill level. My drawing center is filled with tons of laminated color calendar photographs. But beginning artists can’t easily translate a color photo into a pencil drawing. So a quick search on my computer we can look for “mountain river landscape drawing” to find something that is easier to look at and turn into a new work of art. I encourage my students to use multiple images and remix them to be more creative. I will make a quick word document with 2-3 images together, print and send them back to do a new sketch. For my really new artists, I will add “coloring book” “simple” or “line drawing” to get easier images as needed. I have let kids look for their own pictures before, but often the district filters block images searches on the student accounts, so it can be more productive (and much faster) for me to do with the kids.
While conferences are happening, the other students are working either on rough drafts or final drafts. This can take a couple of days depending on how many kids are in the class, how long the conferences take and other interruptions. For classroom management needs, I try to get up to do a walk about in between every 4 conferences or so. This will often be inspired by need… A supply question or a off task group. We finally got everyone approved by the end of the day today… 3 days! But most kids were approved by yesterday.
Studio Time: For this project I have scheduled 5 studio days. This includes the rough draft and conference time. I thought this would be enough time, but our school threw in some odd schedules this week. So we have about 3 hours total for the project. I might add another day. But some kids are done or almost done. Luckily, they will be able to work on their artist goal, or they can make a second landscape in a different medium. They have been ASKING for more time on their artist goal!
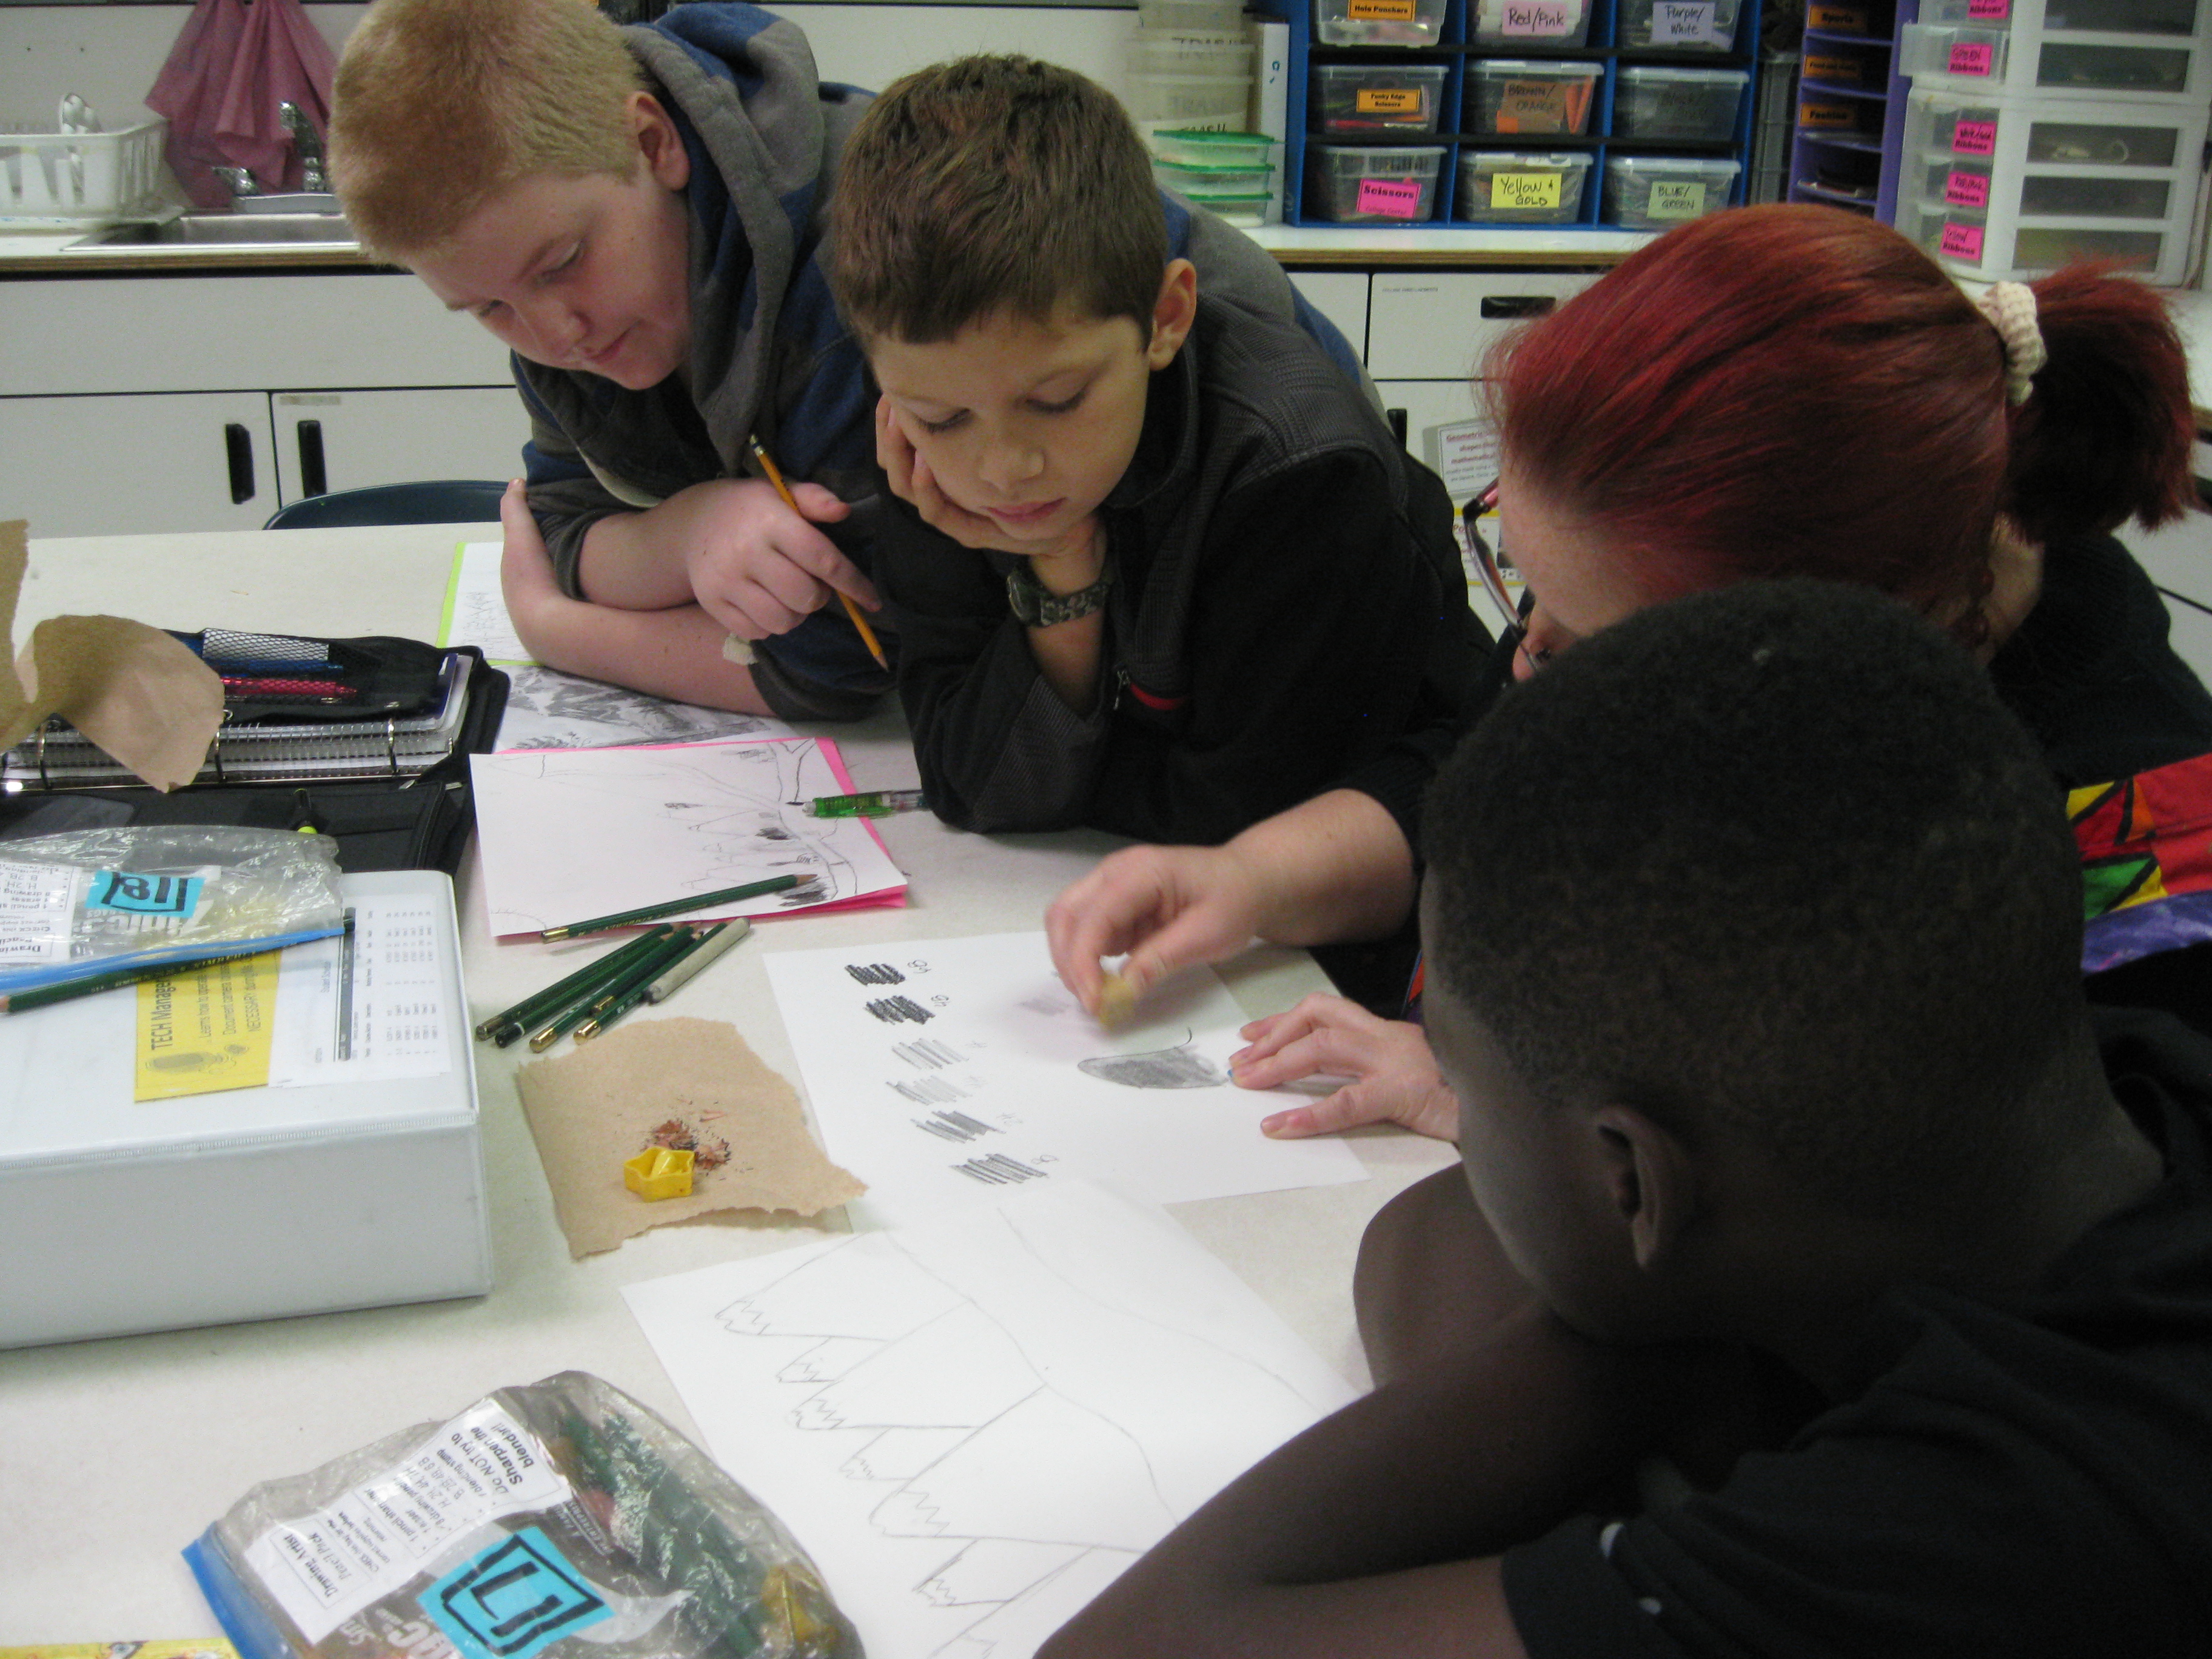
Mini demo on blending with artist pencils
Mini Lessons: During studio work time, as needed, I will throw out mini lessons. A Bob Ross video on happy little trees, a quick video on using water color pencils or a small group demo on blending with artist pencils.
Reflection: We will wrap up a themed project with a reflection. This doesn’t usually take a whole period, so kids that were behind will finish up and kids that were done will work on artist goal. We will do this either Monday or Tuesday if I decide to give them another day.
Peer Critique/ Show Off Time: Depending on the project, the complexity and length of the theme, I will have a peer critique day in the middle of the project and a show off day at the end. For this one, I plan to do an optional Show Off next week, but no peer critiques.
Resources to come…
1 comment for “Landscape Themed Choice Art”